Implementing Settings | Jeylon Guidi | 02/26/2025
The Problem:
An important, yet easy to overlook feature in a lot video games is the inclusion of a settings menu. Being able to change user settings to help optimize the game for different PC configurations is an important feature, so working on implementing a settings menu was my main focus for this week. This was my first time working on a settings menu in both Unity and Unreal, so there was a lot for me to figure out.
Thankfully, Unreal has a lot of built in functionality to help with the process of creating a decent settings menu. Although it took me a while to set up and figure out, the process of building an options menu was actually very straightforward.
The Solution:
The first step of making the settings menu was to set up all of the menu's buttons and widgets (which there are a lot of in a UI menu like this). For now I went with a very basic design for our options menu. There are four tabs: Display, Graphics, Audio, and Controls. Typically in most video games, the options menu is split into multiple categories like this.
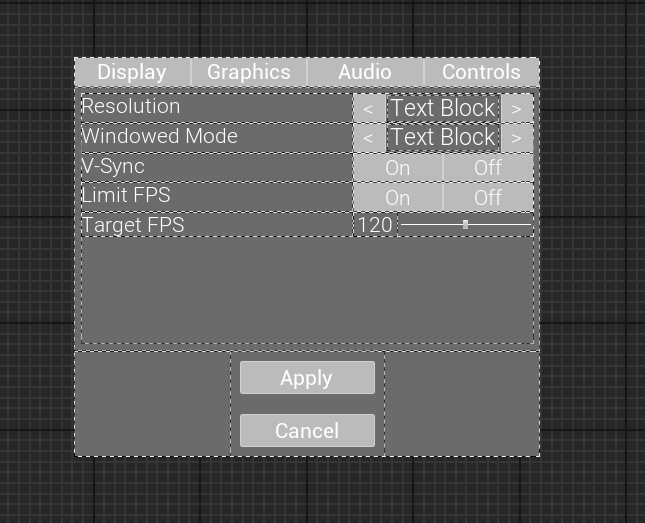
There is usually some overlap between the display settings and the graphics settings. But typically the display tab allows you to change things like the resolution, and the windowed mode. Some times you can change things like VSync or FPS settings in this tab as well (which is what I did):
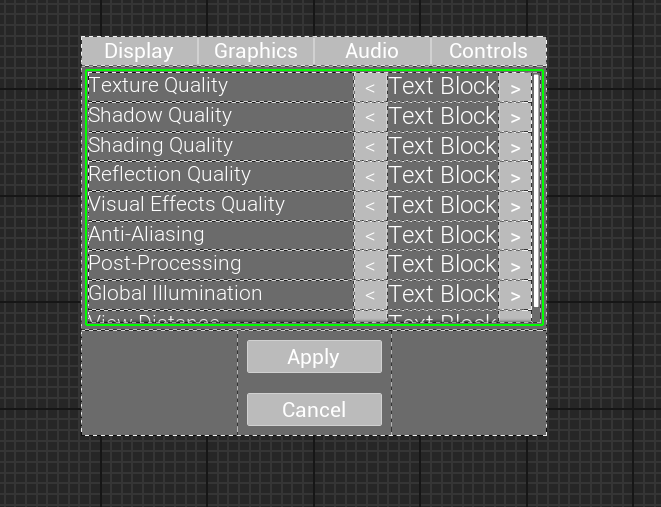
The graphics tab is where most of the settings related to the games visual quality are set. This includes things like texture quality, shadow quality, VFX quality, as well as other settings related to GPU rendering modes:
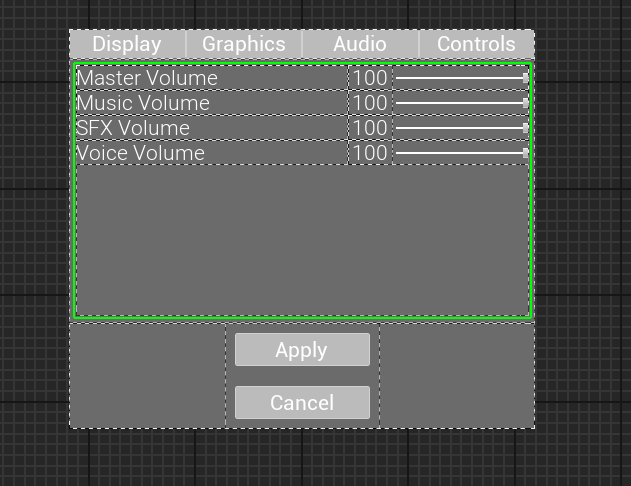
The Audio settings tab is where all settings related to audio or audio devices go. There are a lot of possible settings which can be found in this tab, but typically the main setting you will change in this tab is the volume of different audio channels (which is all that I did for this):
And finally is the controls settings, which is typically where the user can customize the actually input settings for their gameplay experience. The controls settings can get very in-depth (requiring a lot of its own systems), so for now I only focused on some basic settings such as sensitivity and inverting camera controls:

As you can see even for a very basic settings menu, there is a lot of widgets and moving parts in use, all of which have interactions that need to be implemented in C++. Without getting into too much detail, each button press essentially is going to be bound to some kind of functionality that will change the currently selected setting, (as well as its relevant widgets).
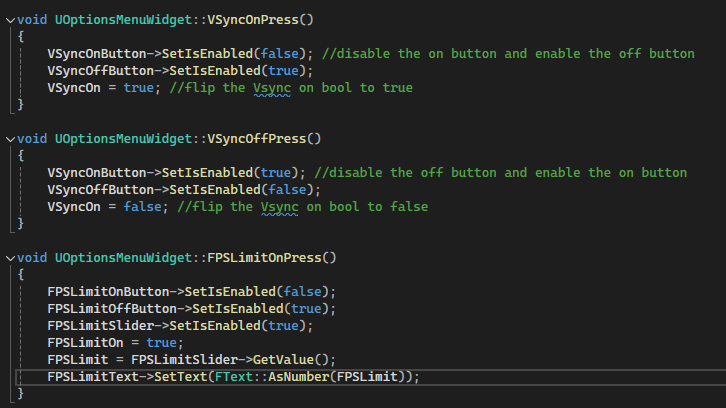
For some of the settings the selected value can be stored as an int, which will make more sense once I explain how the settings work in unreal. But for now the buttons can just set an index and clamp it between two values.

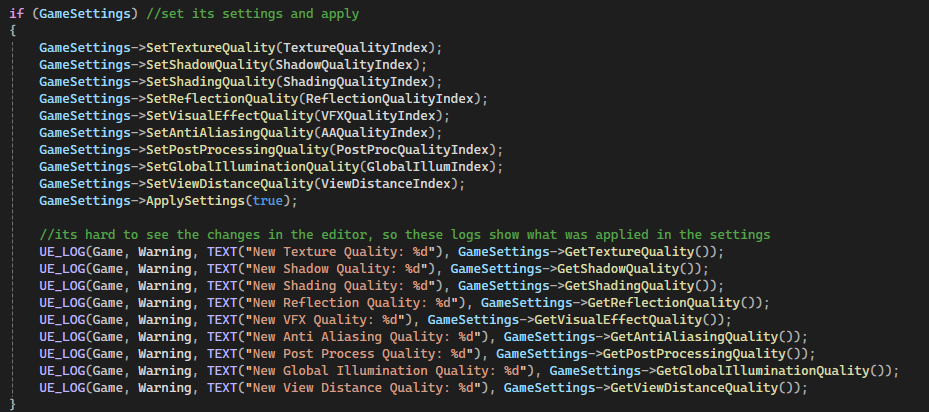
If you haven't guessed yet, these values will represent the setting preset values we will be altering in the built in Unreal settings functionality. To do this we want to access a class called GameUserSettings. This class has most of the functionality required to change the built in Unreal settings for a game, and is the main class we want to use for applying the selected values of our settings menu.
The class has multiple functions that allow you to either set, or get the current settings of a game built in Unreal. These functions are very easy to use, and most of them essentially just ask for a boolean or index representing which settings preset you want to access (i.e. low, medium, high, FPSLimit, on/off). Once you set a setting you just have to call the ApplySettings() function to apply that change to the game (and also to save the selected settings).
That's basically it for the default settings that come built into the engine. However I needed to add additional settings, like the volume and controls settings, which aren't included in the base GameUserSettings class. This is a little more complicated but works fairly similar to what we just did.
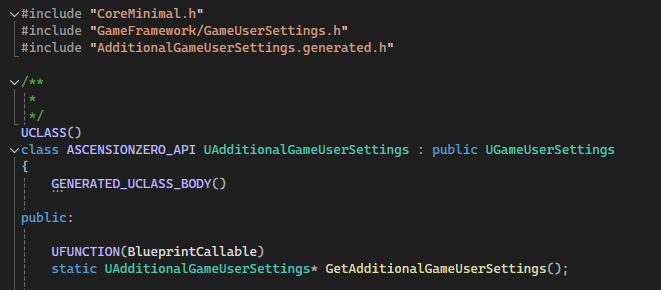
To create custom settings you essentially just have to make a derived GameUserSettings class, and within that class create the relevant variables and functions for the settings you want to add:
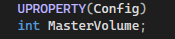
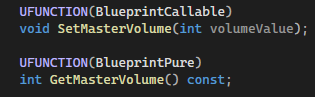
For example, to add a master volume settings I added an integer variable (of the UPROPERTY type Config) representing the volume setting, as well as a getter and setter function to use or modify this setting.
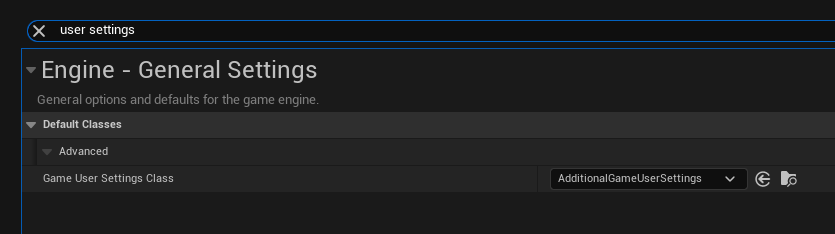
Once this derived GameUserSettings class is set up, all I had to do was change the Game User Setting Class in the Project Settings as so:
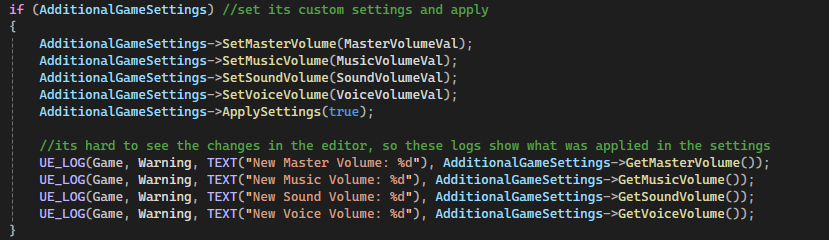
Once set up, the derived GameUserSettings class can be used the same way as the built in settings:
And with all of that done, the game now has a basic settings menu!
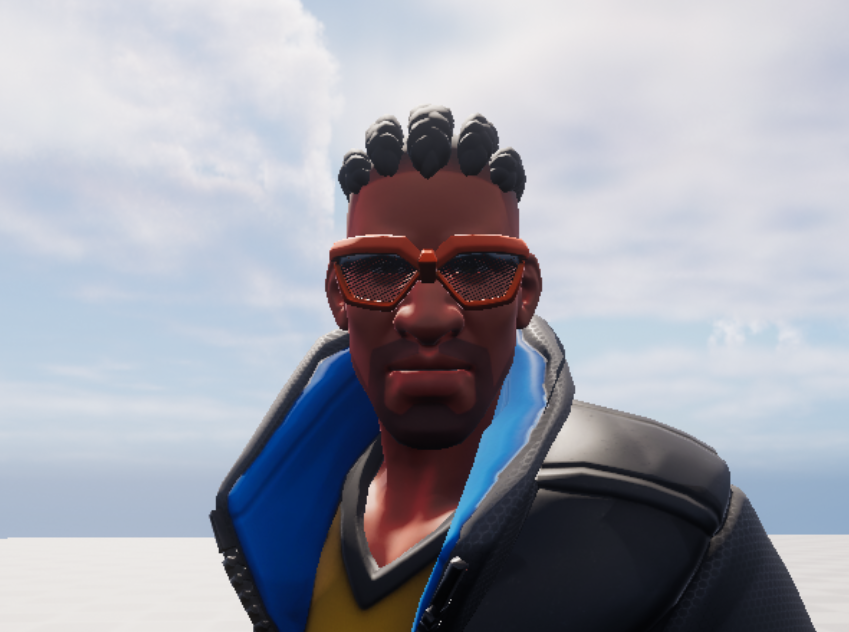
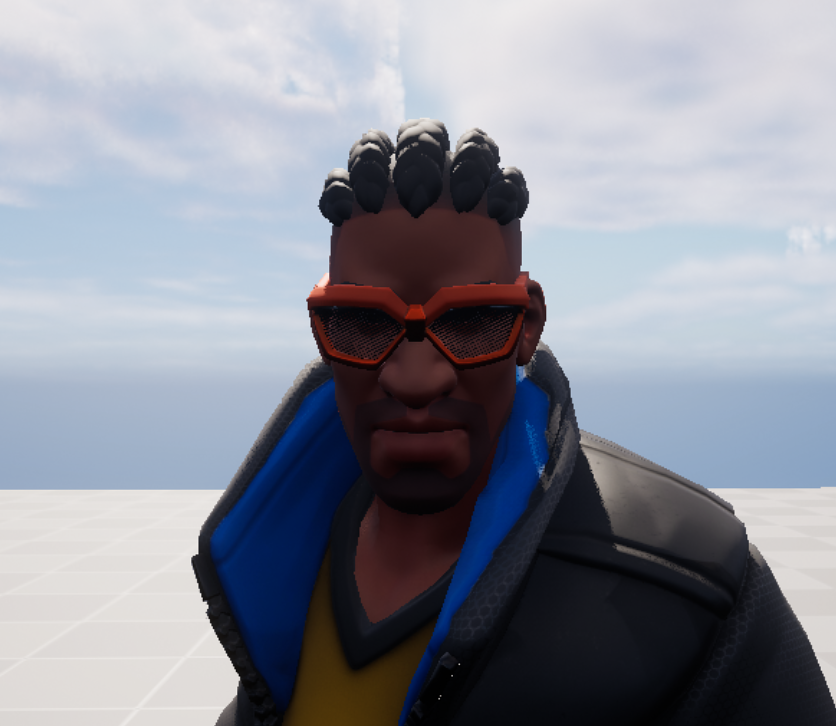
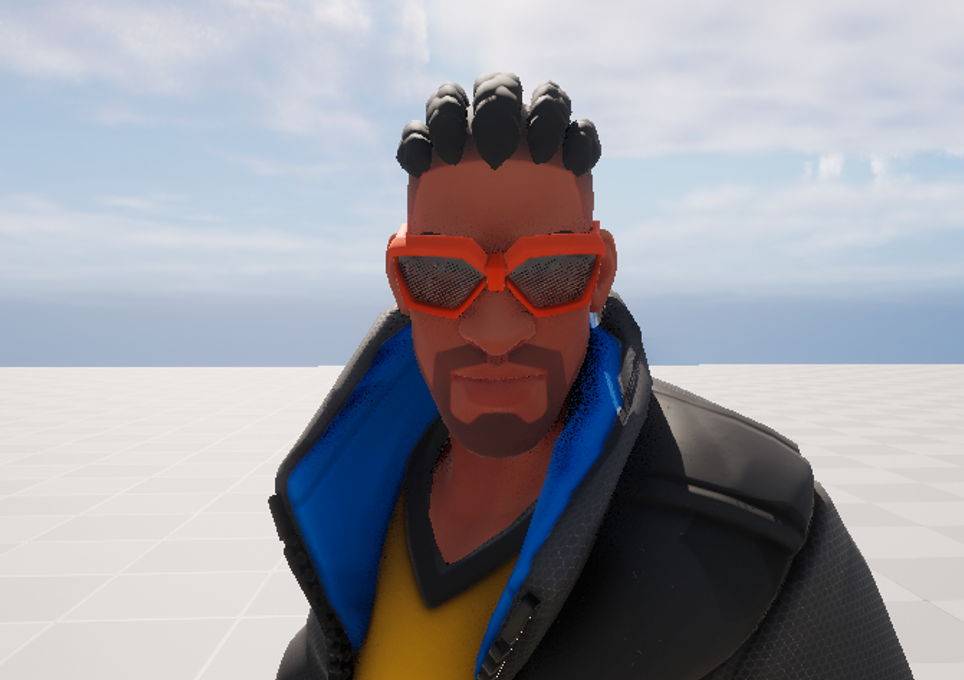
And just to showcase that this works here is multiple screenshots of the player character with different graphics presets applied:
Leave a comment
Log in with itch.io to leave a comment.